How to connect and configure a router under the beeline on the example of popular models
All cellular companies are offered access to the worldwide network, but Internet access from Beeline Provider is considered one of the most sought-after options. The operator provides its consumers and both mobile Internet, functioning and home.
To get Wi-Fi Wireless Coating, branded routers from other manufacturers, whose settings are based on the device model. It is on how to connect the ticket Beeline, and our today's article will tell.
If several computers are used in the same house, the wi-fi setting becomes more than relevant. Internet access without wires is extremely convenient when working with modern smartphones, tablet PCs or laptops. Configuring Internet access through the router can be carried out automatically or in manual modes, which directly depends on the model of the device used.
Basically, when making an agreement with the Beeline provider, a company specialist comes home to a new client, which sets the correct connection. But if the Wi-Fi router was purchased later, or a device was replaced, the connection will be necessary to configure again.
For each router there is an own setup manual, but separate actions are absolutely identical to all devices, for example:
- Connecting the cable to the router itself.
- Connecting the second cable directly to a laptop or PC.
- Making the correct settings (device address, the type of connection used, setting the password, etc.).
How to set up a D-Link DIR-300 router
There are such well-known models of routers that use most of all consumers. It is the model that is DIR-300. Few of the subscribers chooses devices without Wai Fi, because, mostly, only because of it the model is bought.
Setting up the D-Link DIR device is carried out in two stages:
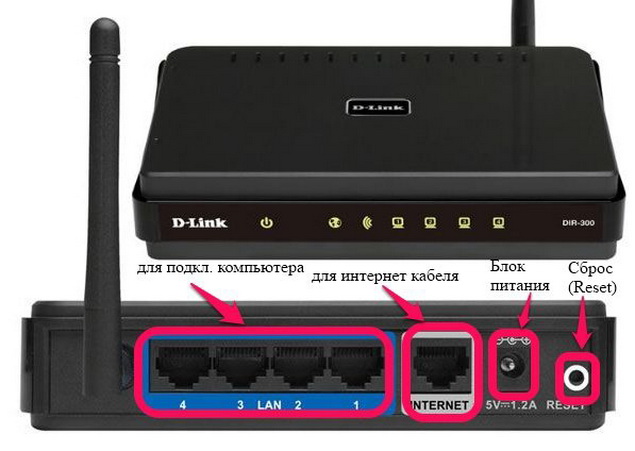
- Physical connection (Fig. 1).
- Managing the created connection by the browser.
Initially, you must make sure that the latest driver version is installed on the network adapter. This for the most part concerns the owners of old PCs.
- You need to unpack the device and connect the power supply to it, and then connect the cable to the WAN inscription port. The second cable is connected to any LAN port on the router and, accordingly, to the computer.
- Next, the subscriber needs to open the Start tab on the PC and go to the section "Control Panel", and then enter into "Network Management Center". Here you need to click on the count "Adapter Parameters" and set the version of the protocol on the line "4", and then open the "properties".
- You need to make sure that IP and DNS Server Points are in mode "Automatically".
- Then the subscriber needs to go to the internal menu. To do this, in the browser string you need to drive the value of 192.168.1.1 and confirm the transition. A special form will appear in which you want to enter a login and protective password. To get into the admin panel, you need to enter the word "admin" in both lines. This is a factory method for gaining access.
- In the interface that appears, you must select item. "Manual settings", enter the "Network" section and click on the Add button.
- Then we install for the type of connection the value "L2TP", and for the IP set the value "dynamic".
- In the fields that appear enter the client login and the protective password. They are given by the company Beeline when buying a router.
- Then you need to put the ticks opposite the items "Automatic connection" and "Keep Alive", and then press the "Saving" key.
- Press the "Save" key again, after which the connection will be connected in automatic mode.
All - Router is configured.
ASUS devices
Another well-known router manufacturer is ASUS. There are no utilities to receive a disk to receive the disk to get the settings in automatic mode, and therefore the subscriber has to prescribe all parameters manually.
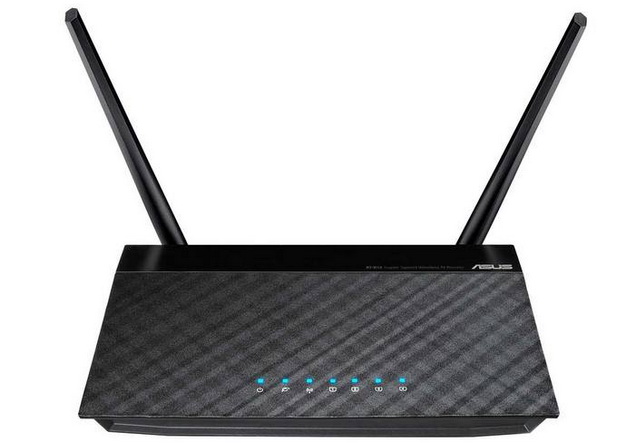
Asus Router Company
To make the settings for the router of the company ASUS in this way:
- The device must be connected to the network and connect directly from the PC available to the cable.
- Then you need to open any browser and lead in the search string value 192.168.1.1, and then click on the input.
- To gain access to the user, you need to enter a login and a protective password - you need to enter the word "admin" in both fields.
- After entering the internal interface, you need to go over the tab with the name "Advanced Settings" and select the "WAN" graph. Then we install for the type of connection the value "L2TP" and make sure that the IP and DNS servers are in mode "Automatically". In the VPN Server field, we prescribe such an address - tp.internet.beeline.ru. You also need to enter your own login and protective password - they are issued to the subscriber when buying a router.
- To activate Wi-Fi, you must go to the Network Map tab.
- On the right side there will be a table with a configuration for quick wireless connections. Parameters Here you need to make the following: "Connection Name" - come up with any; "Protection type" - WPA cars; "Encryption WPA" - fit "TKIP + AES". In the Password field, you need to make any invented if necessary. Then click on "The confirmation". Now the router is fully configured and ready to work.
On this, the router under the Beeline is finished.
TP-LINK devices
This device model is quite popular and in demand due to the fact that it has a setup wizard that can connect to the network in automatic mode. Basically, a drive is supplied with the router, on which the master is located. You just need to connect the device to the PC, insert the disk into it and run the launch. If for unknown reasons, the connection could not be installed, then the output here is only one - making parameters in manual mode.
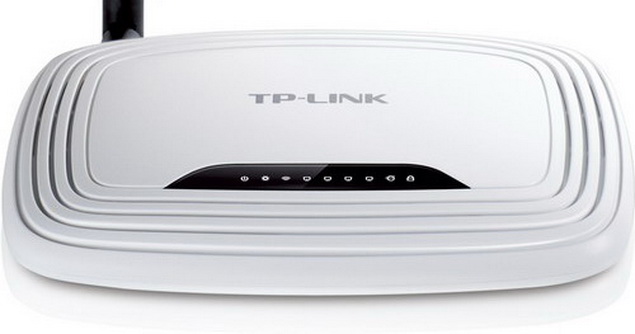
TP-LINK router
The device is configured in this way:
- After connecting the router with a PC subscriber, you must go to any browser and enter the value of 192.168.1.1 in the string, and after clicking on entering.
- Further turn on the "Network" tab and open the Count "WAN".
- Then we install for the connection type the value "L2TP", we introduce your username and the protective password, which was issued by the provider when buying a router, and for the IP server, we prescribe such an address - tp.internet.beeline.ru.
- We specify the "automatic connection" and for MTU set the value of 1400. Then click on the "Saving" key.
- To activate Wi-Fi, you need to go to the "Wireless" section and open the Count "Settings".
- Next, we come up with a name for the network being created, we set the region - Russia, as well as for the channels "Channel" and "Mode" put the importance "Automatically". Click on "save".
- Further go to the "Wireless Security" section and activate the WPA-PSK item. For all other items put the importance "Automatically". Press the "Saving" key. Now the router is fully configured.
Zyxel devices
Some clients prefer to use devices from the manufacturer ZyXEL. Let's look at how to set up a router of this company. With the computer, they are connected in the same way as the above devices. But the internal setting is carried out in this way:
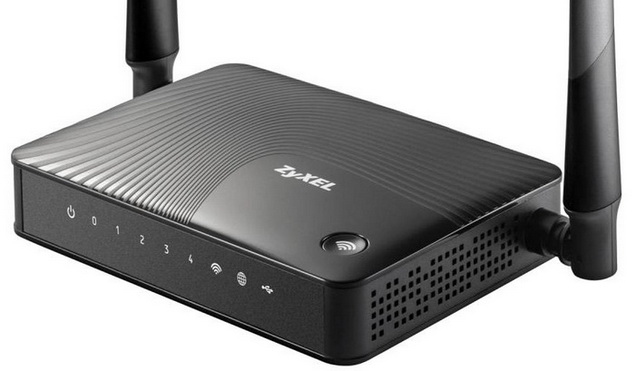
Router zyxel
- We go into the browser and fit into the string value 192.168.1.1.
- In the Login and Protective Password field fit the word "admin".
- Then go to the "Internet" tab and click on the "Connection" graph.
- Fill fill such items: the name of the Internet center - fit any; Points "IP" and "DNS server" set to mode "Automatically"; Opposite the "Ping Queries" item, we set a tick and for the UPNP value, we put "Allow". Click on the "Application" key.
- Then go over the "Authorization" tab and for the type of connection, we set the value "L2TP", and for the server we prescribe such an address - tp.internet.beeline.ru. In the Login and Protective Password field, we prescribe the accesss that were issued when buying a device. Click on the "Saving" key.
- To activate Wi-Fi, you must go to the Wi-Fi Network section and select "Connection". Then put a tick opposite item "Connection points" And come up with a name for the new network. The field with the name "SSID" is not filled. Standard exhibit 802.11g / n. The following two sections are translated into mode "Automatically". Click on "Application".
- Further go over the Security tab and set the "WPA-PSK" value for the authentication, set the ASCII value for the format. If necessary, we come up with a password for the network. At the end, click on the "Apply" key. Now our router is fully configured and ready for the first connection.
Conclusion
We reviewed all the most popular models of routers for Internet access from the cellular company Beeline, and also told about how to connect them and correctly.
In fact, the Beeline Routher Setup should not cause any problems with users. All you need is only to repeat all our actions in practice and a positive result will not wait long for a long time.
 Service "Prohibition of Calls" from MegaFon
 Tele Support Service2: Free Phone
 How to connect bluetooth headphones to a computer?